|
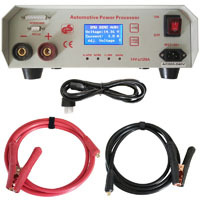
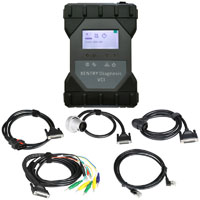
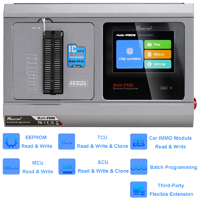
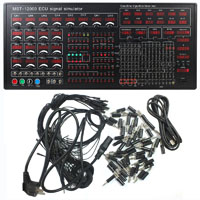
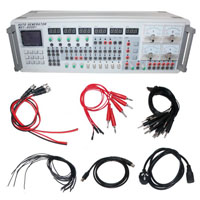
Name: MST-9001D Diesel Engine ECU Test Bench PHS
Description:
MST-9001D Diesel Engine ECU Test Bench PHS is a newly upgraded matching product for MST-9000+, the most convenient to operate auto ECU test bench in China. What is more, the Diesel PHS computer test bench can work independently as well. It can completely drive various types of auto computers, sensor signals and fuel injector conditions.
With simple and concise appearance, reasonable design and easy-to-upgrade software, the Diesel PHS computer test bench is the right-hand to electronic fuel injection system teaching and training, decoder demonstration, testing and maintaining ECU.
Parameters:
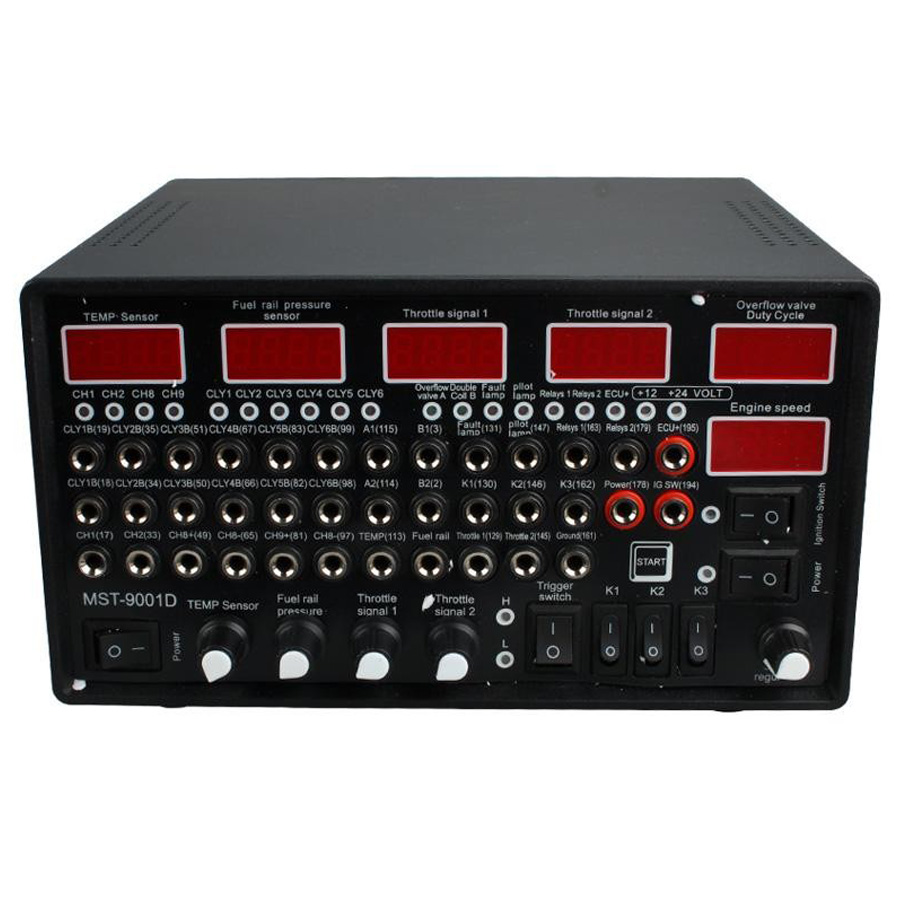
1. Equipped with 4 analog signals with digital voltmeter to precisely display the voltage of analog signals
2. Equipped with 4 waveform output channels through which you can edit crankshaft and camshaft signals of various auto models. It is Convenient and accurate
3. Accurately simulate the working condition of diesel injector
4. Equipped with 3 analog switches, you can set the of high-low level output as you please.
5. For the convenience of use, the new model can be stored at computer as the form of terminal data and waveform edited by computer. When needed, you can download the data and waveform to the test bed
6. The machine adopts high-powered switching power supply with the function of short-circuit protection.
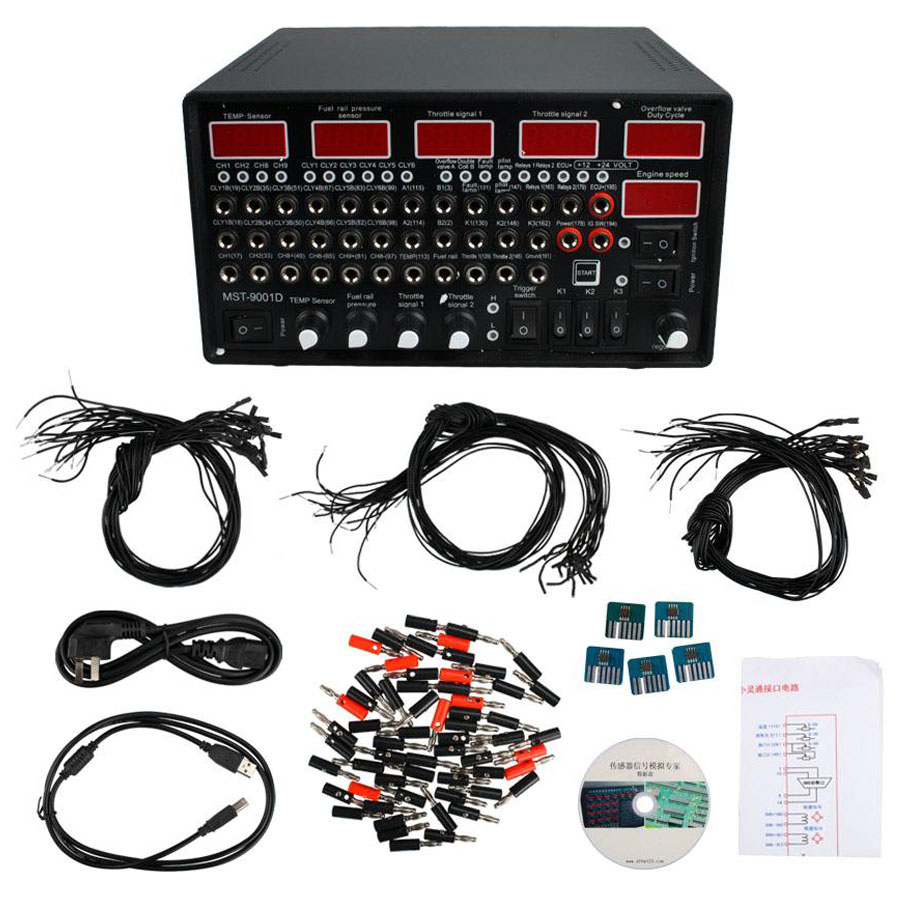
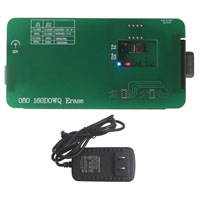
7. For the convenience of users to do computer diagnosis, it adopts the OBD computer diagnosis propriety plug to test computer board.
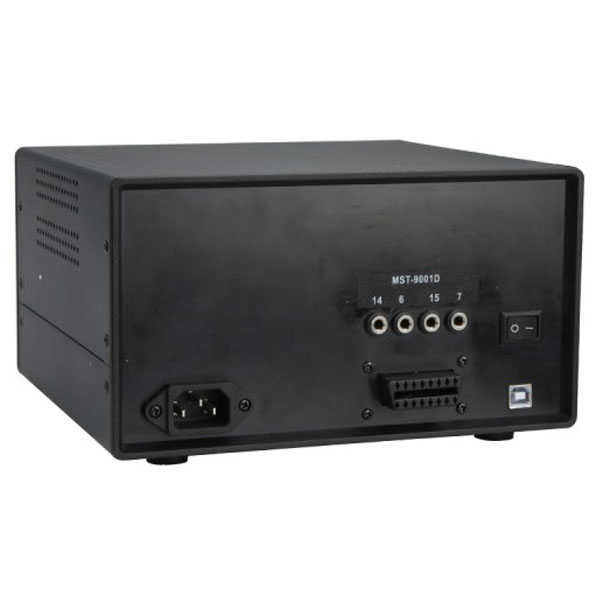
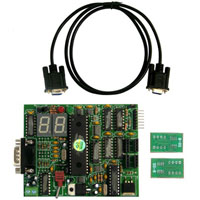
The schematic diagram of the instrument connection port:
Fuel injector
Analog signal
Switch signal
Actuator signal
The signal of the crankshaft
OBD diagnostic interface
Software Install Steps:
1. Copy "diesel PHS" folder to the computer C disk
2. Open the software and find out "the USB driver files"
3. Double-click the "CH341SER drive"
4. Click "INSTALL"
Automatic installation
Driver installed
5. Send "diesel PHS" to the desktop to create a shortcut
6. Software interface
7. Check the instrument port number in the device manager.
8. If the port number is greater than the COM9, please click the right mouse button and select properties
9. Select advanced in the port settings
10. Set the port within COM9
11. Select a serial port setting to do port setting
|


.jpg)